A bit of Progress
Received some parts today: rubbers, headlight etc… Promptly managed to break the headlight glass :> before finding that Kawasaki S1 headlight fit straight in a DS6 ![]() as well as early aircooled RDs. Damn.
as well as early aircooled RDs. Damn.
Received some parts today: rubbers, headlight etc… Promptly managed to break the headlight glass :> before finding that Kawasaki S1 headlight fit straight in a DS6 ![]() as well as early aircooled RDs. Damn.
as well as early aircooled RDs. Damn.
This is of interest to both DS6 and Samurai/Avengers bikes owners (The shocks are the same, maybe produced by a contractor Showa? Koto?). In THEORY: you should be able to unscrew the top aluminium part (anti-clockwise) after punching out the pin.
Unscrew top ally bit. 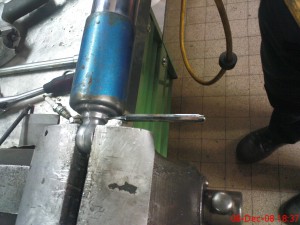 It is screwed onto the threaded rod that goes through the seal (in the skinny bottom part of the shock). The painted cover also has a thread… hence everything will spin endlessly if the parts are slightly rusted.
This is as far as we got. 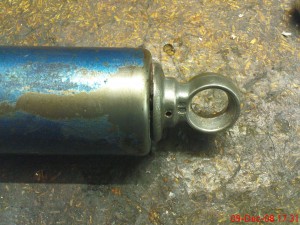 You can see in the background of the previous photos the first shock we dismantled… of course, we didn’t take pics of that. What we’re doing in fact is screwing in the painted shroud untill it bottoms out on the unthreaded part of the rod. This stops the spinning rod and gives us a chance to unscrew the seized top part. This one resisted all attempts. I spared you the worst: I had to cut open the shroud and make a special tool with a lock plier in order to grab the rod and unscrew the top… not pretty.
Before that I also made tool with a 34mm socket used with a impact pneumatic tool to try and unscrew the top bit… it wouldn’t budge, the rod kept spinning.
You can see the culprit: 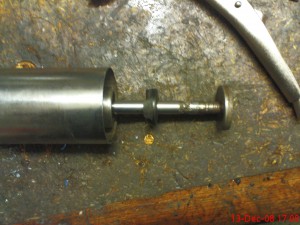 the top shroud washer had unwelded itself from the shroud. It is only spot-welded twice to the shroud.
Completely dismantled shock… 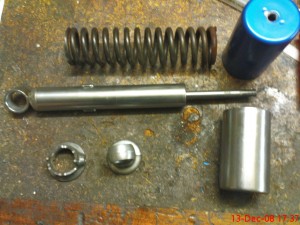 there is a rubber damper at the bottom, close to the seal, not in the pic. Don’t forget it when you reassemble, I did… Pass a tap and die on all threads and coat them with TONS of copper anti-seize… The marks On the rod should really be higher that the seal lips, try to grab it as high as possible.
Finished product. Mounted on bike…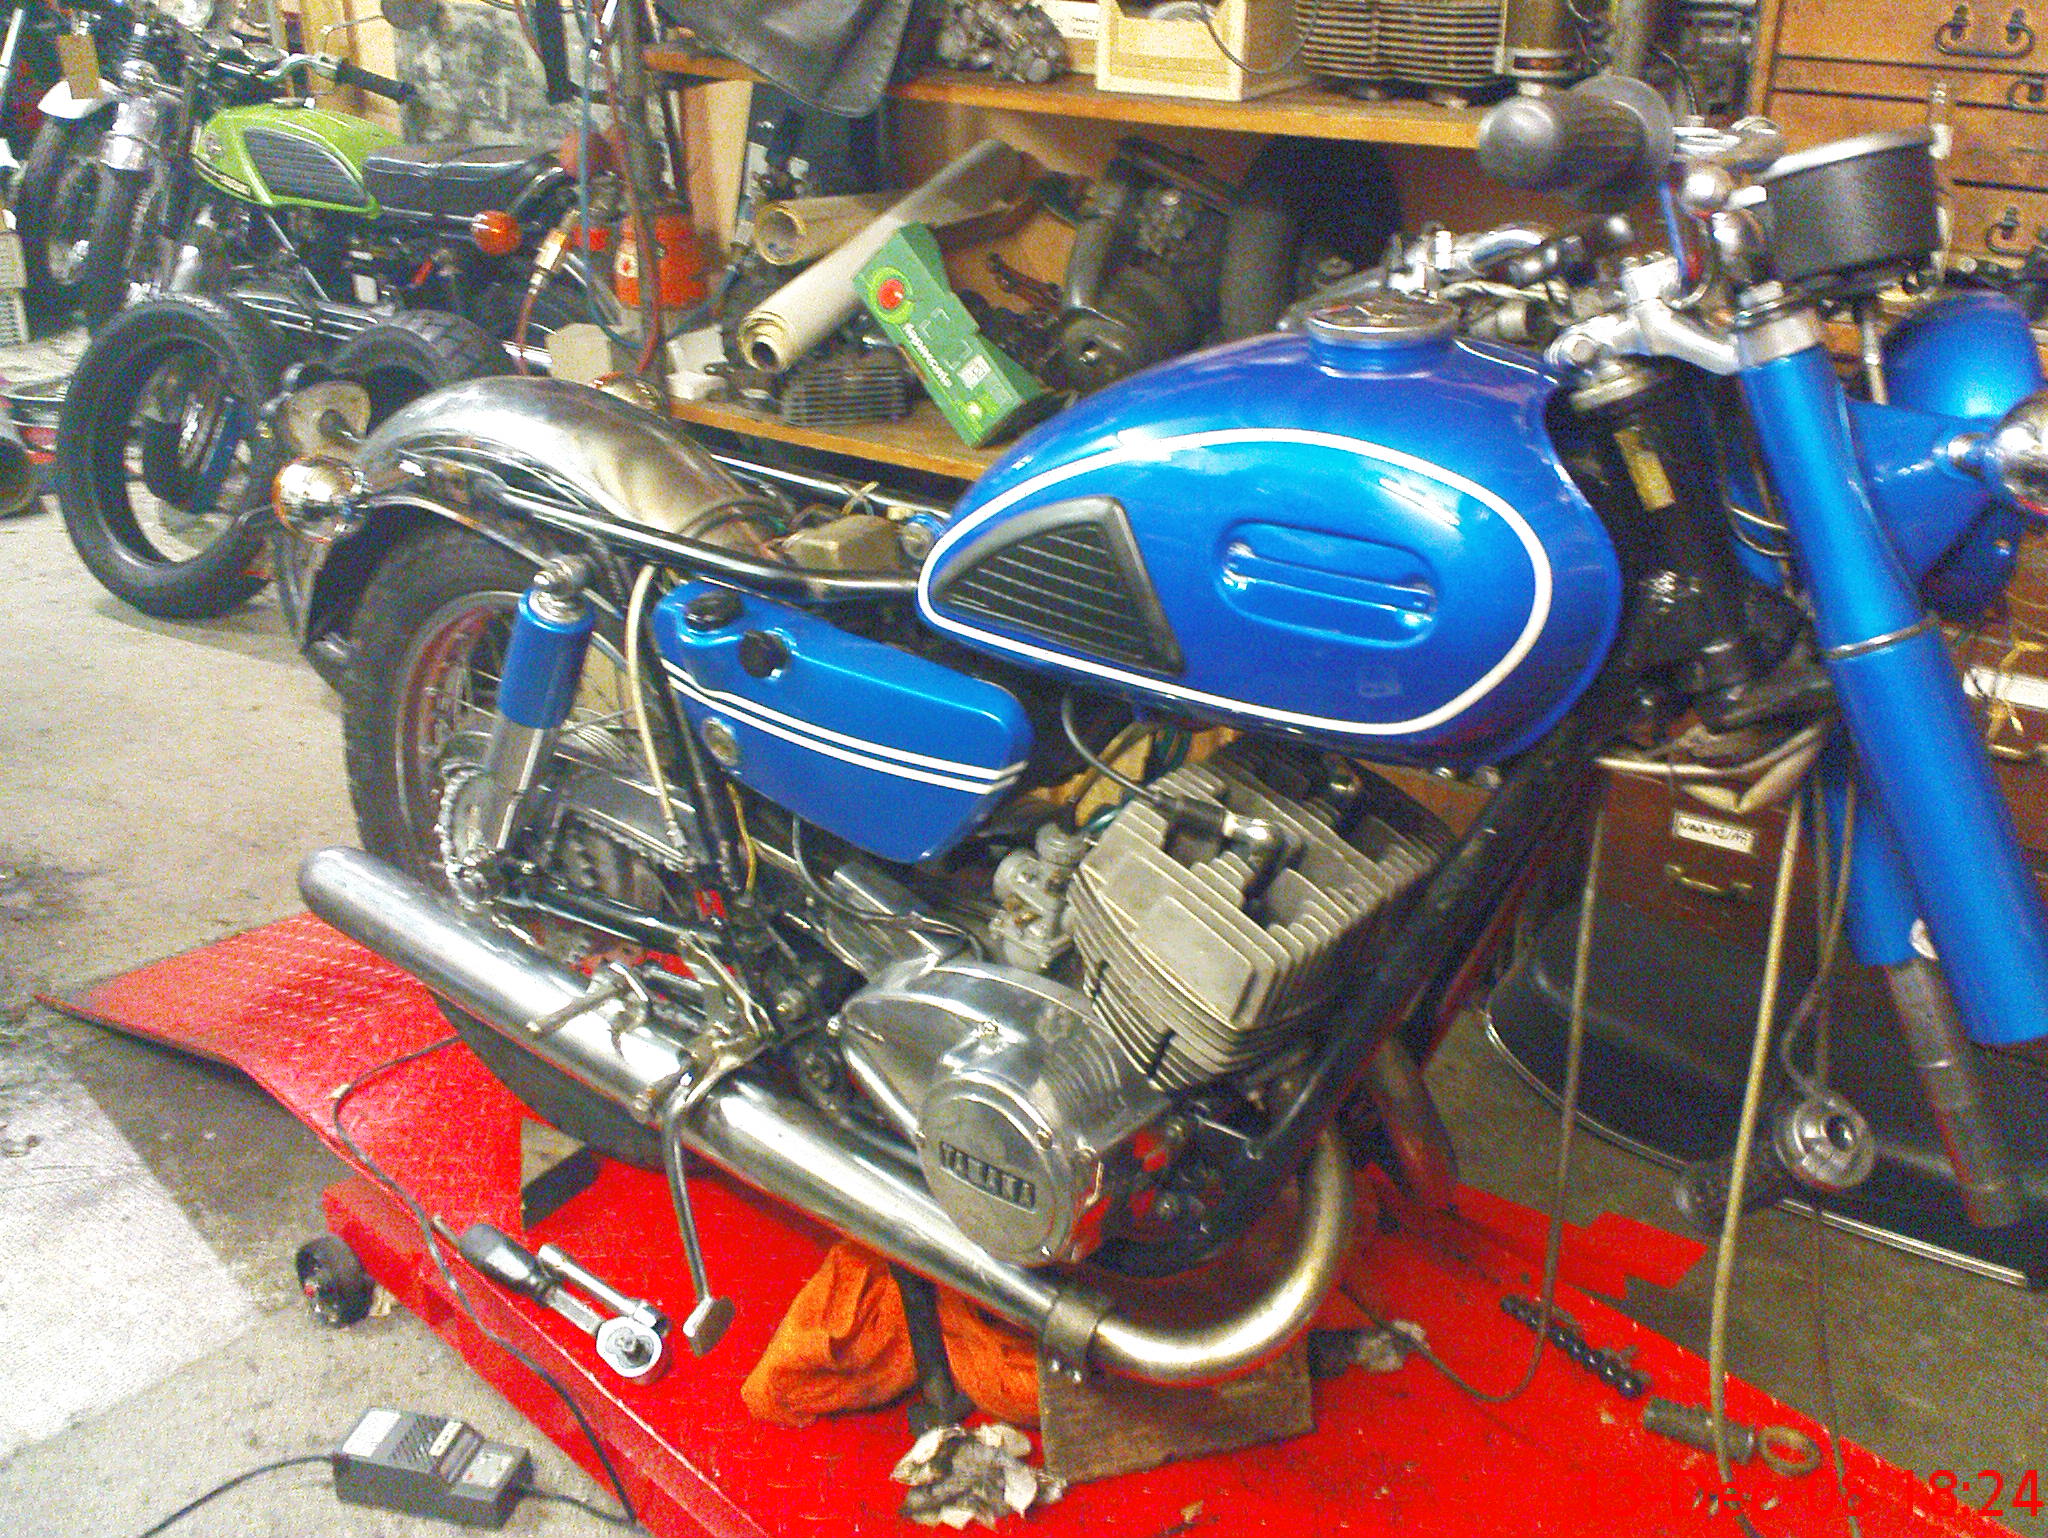 It took me more than 5 hours to do that shock… the first one took 5 minutes… Luckily I had a set of new painted shrouds, so I could sacrifice the one in this post… Got me fuming for an afternoon. Bottom line: it either works nicely or expect trouble, BIG trouble. If they show leaks… dismantle them to recuperate the shrouds (if you can) and buy a used set… the seal is under a pressed washer in the body and CAN’T be extracted without destroying the shock ie NOT servicable. I think you’d be better off painting the shock without disassembling them if the chrome is OK.
After all that work I decided to polish the LH cases (Clutch). This is what I found Inside:
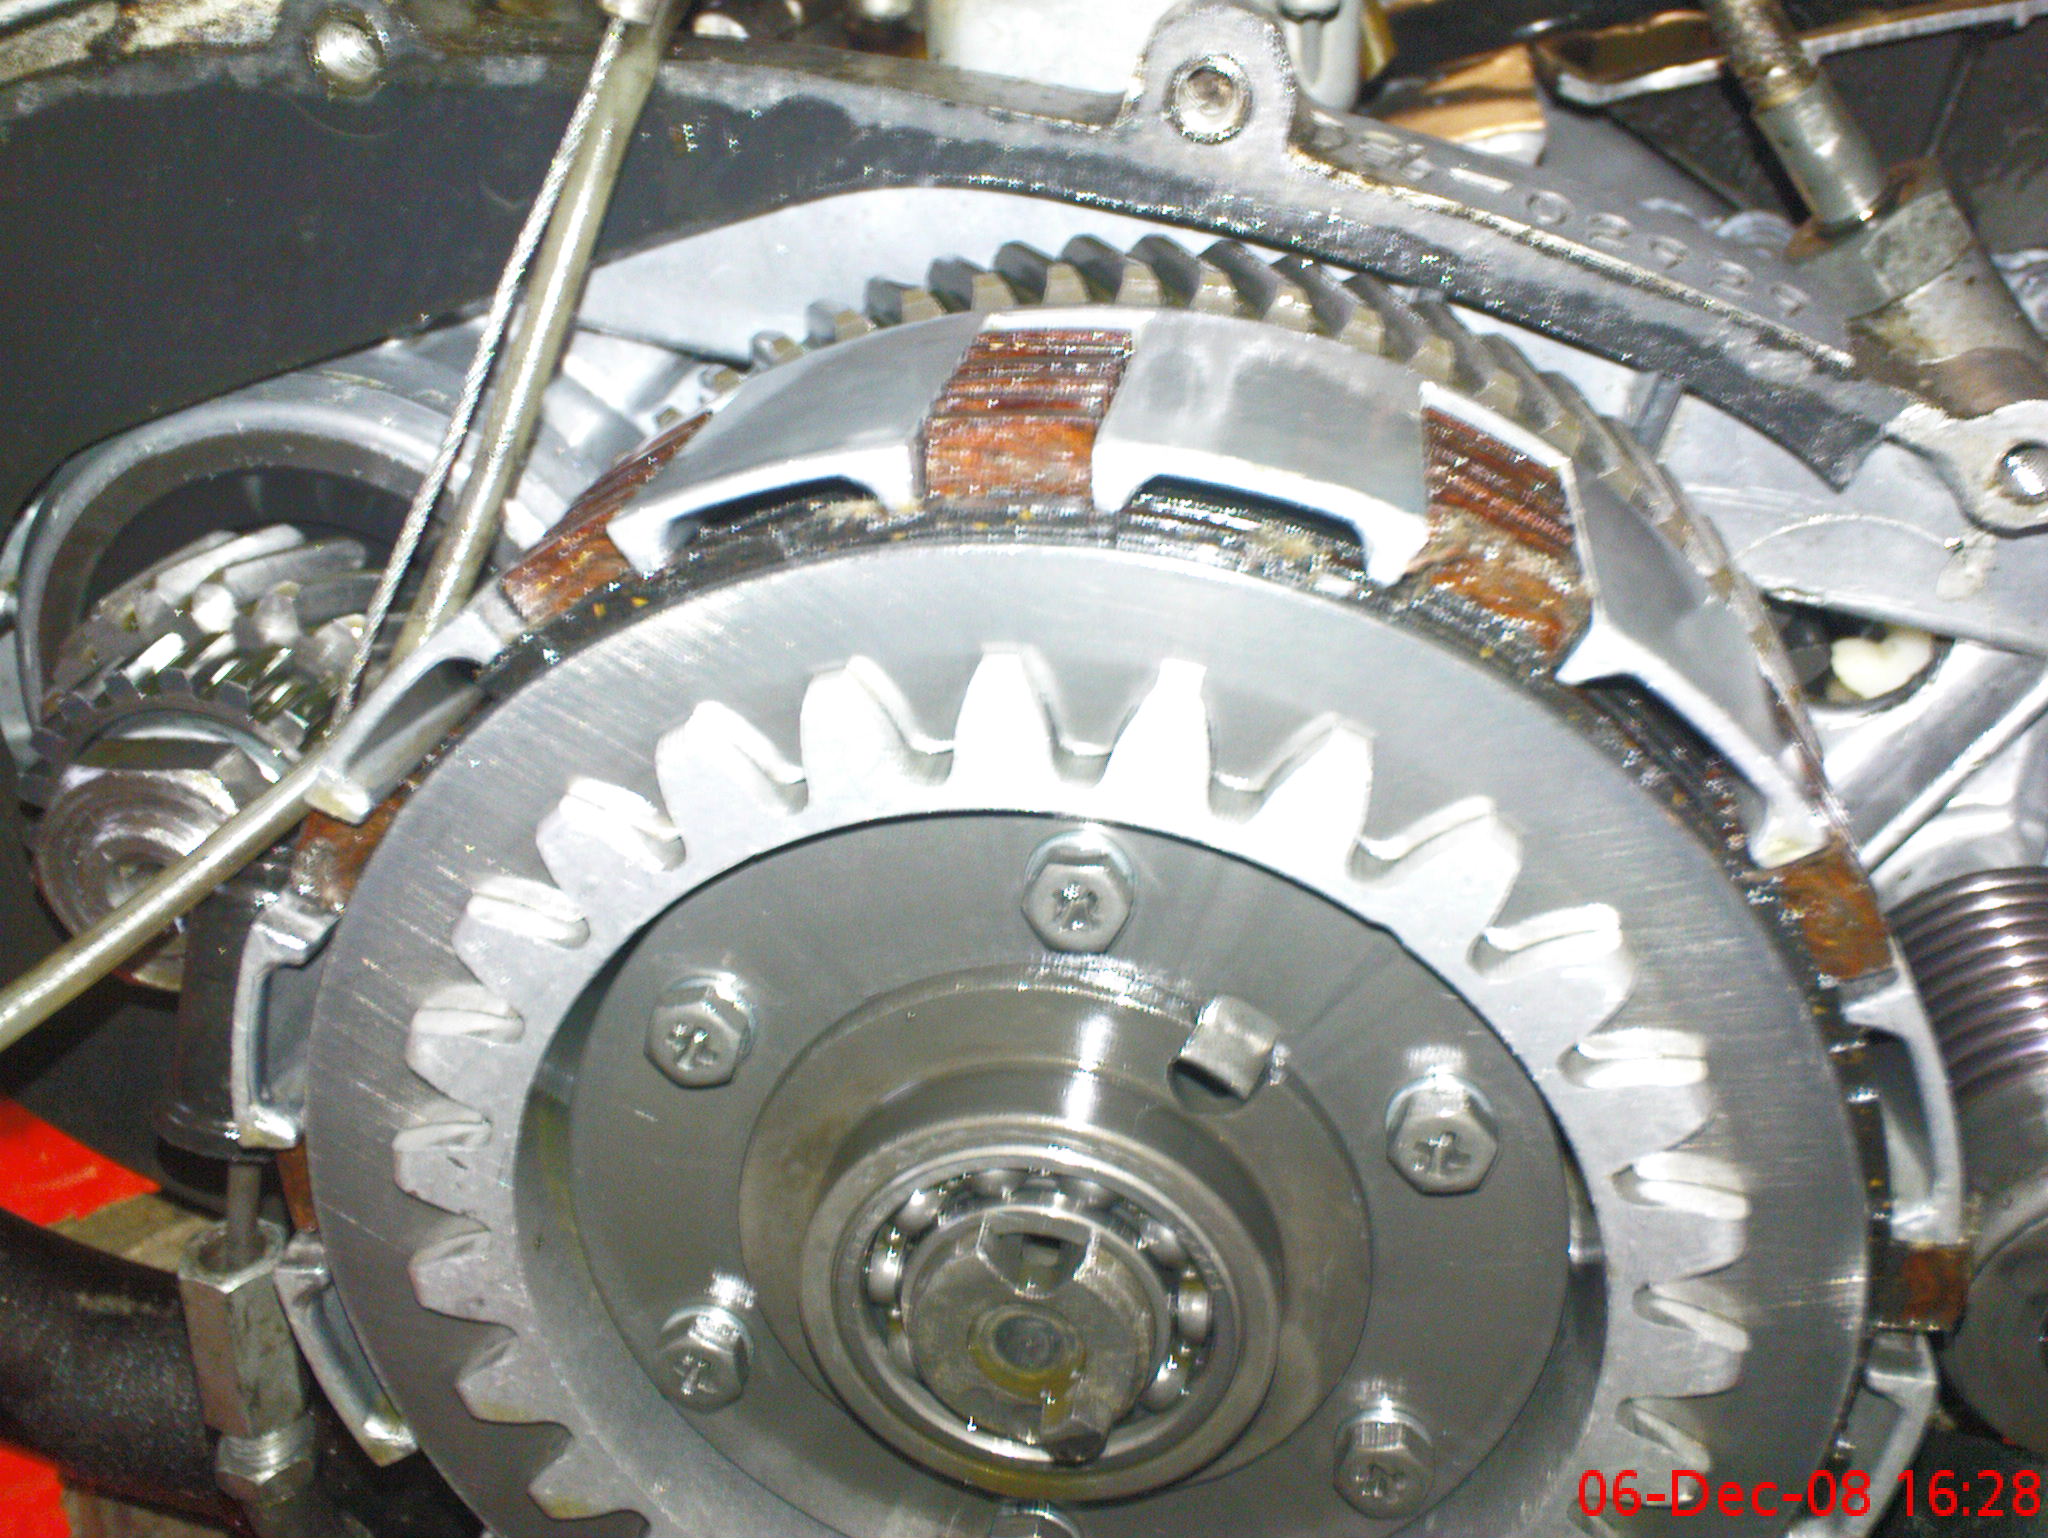
Click on the pic and notice how the first fiber plates ears are broken… New set needed.
Lo and behold, I DID reassemble my switch with the contacts the wrong way round… pesky little things. Everything works as it should now. Getting into the polishing part of things… and waiting for my parts. I also changed my handlebars, it looks much better now, I still need to re-route a few cables. Check my Links page to find reliable sources of parts and services.
Cleaned and rewired everything. There’s a few wires that need repairing and, of course, while polishing the switch cover, I probably messed the inside… :> hence not everything works now, damned spaghetti salad.
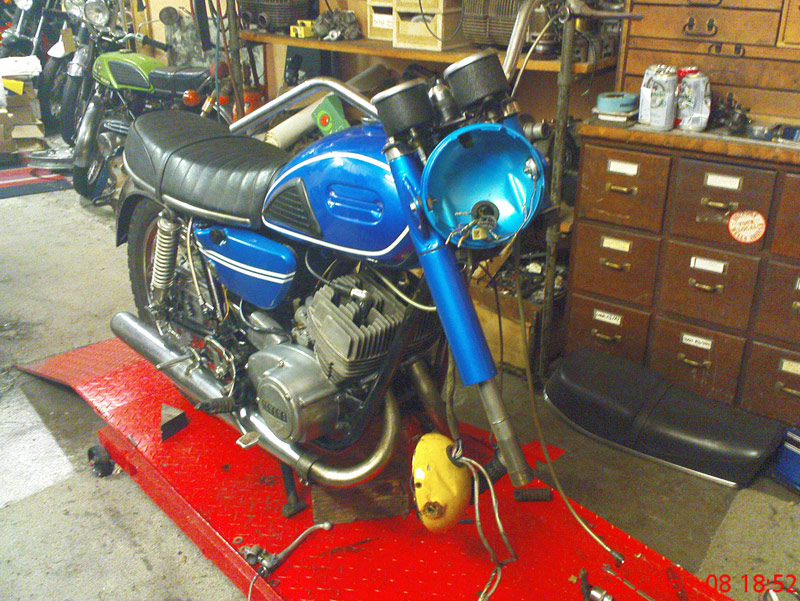
Finally had a good go at the front end. This is how it looks now:
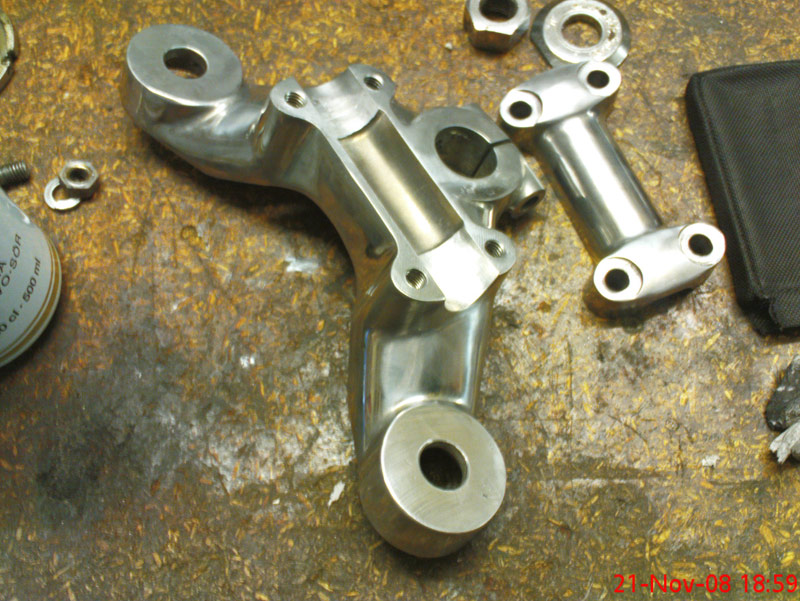
The handlebar holder was in good shape, but required polishing. Too many cobwebs. I usually hate that, but seeing the results, I might just try to polish the motor covers.
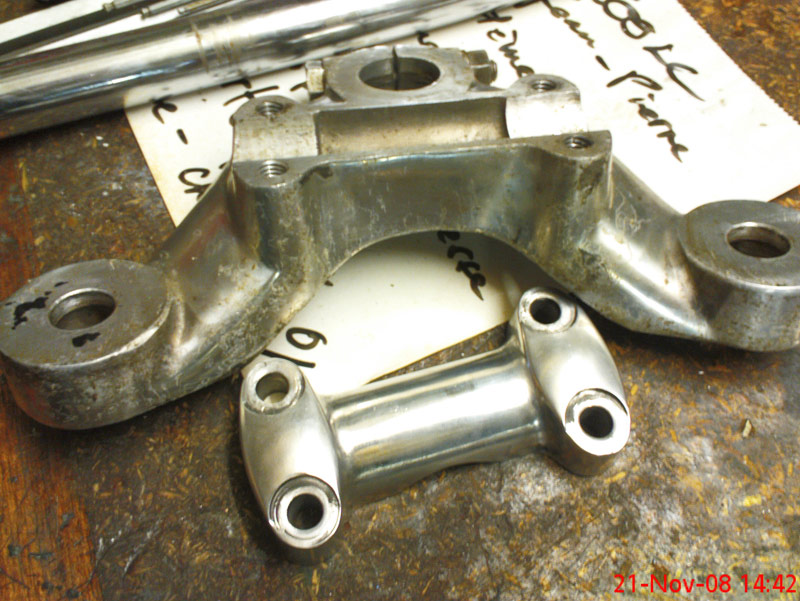
How it looks after 20 minutes of work: Nifty.
Time to paint the clocks, they originally had a wrinkle finish, pretty easy (So I thought) to redo.
After paint:
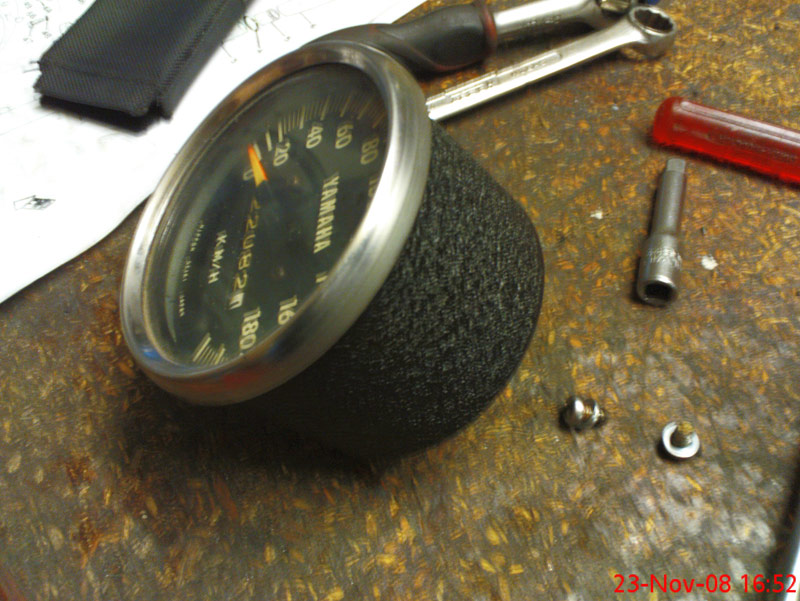
One of them wrinkled differently… same day, same temp, same can ![]()
Clock Plate:
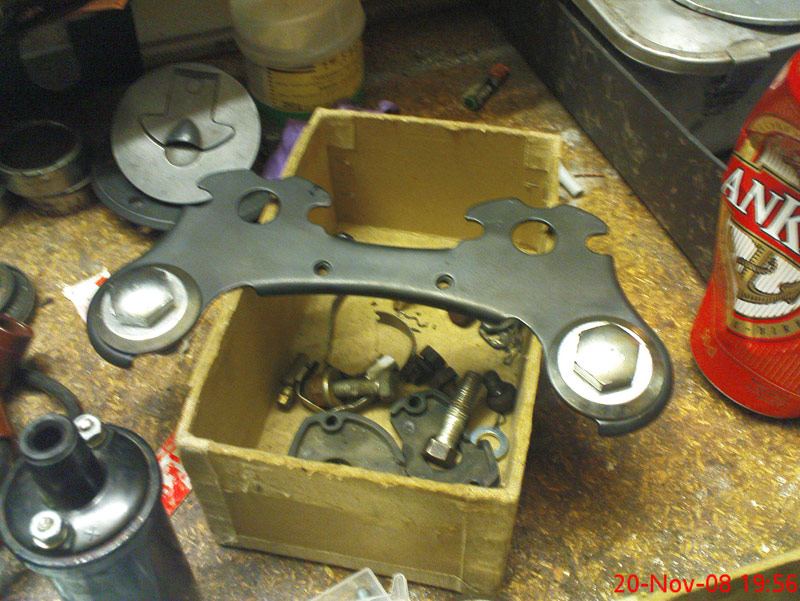
The washers and bolts come from a Kawasaki Samurai… no time or money to source NOS bits.
The indicator is also from a kawasaki, but this time a H1.
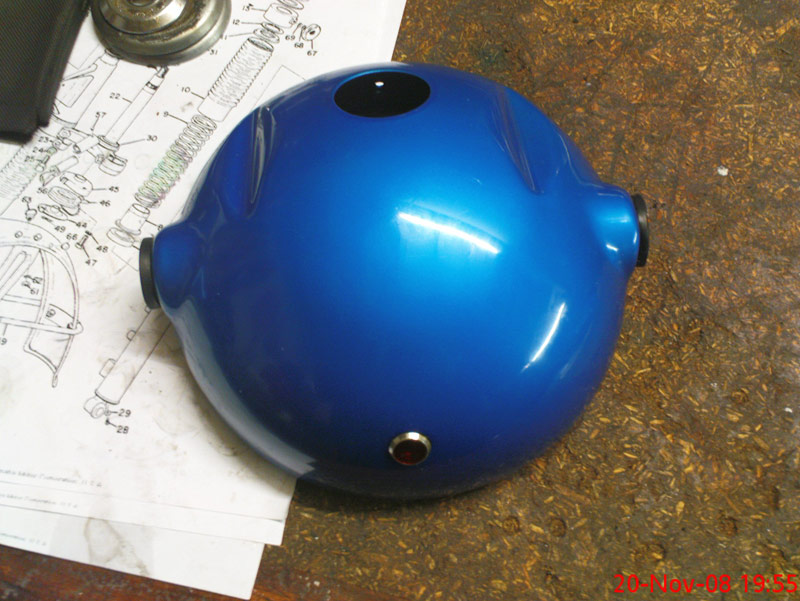
The headlight rubbers and square spacer come frome a suzuki T250

Here is how it looks, the ace bars are way too radical for me, need to buy a new set of low bars. I fitted bars from an RD 250, but they are too high for my taste. The bike might be a bit of a bitza, but still look “period”.
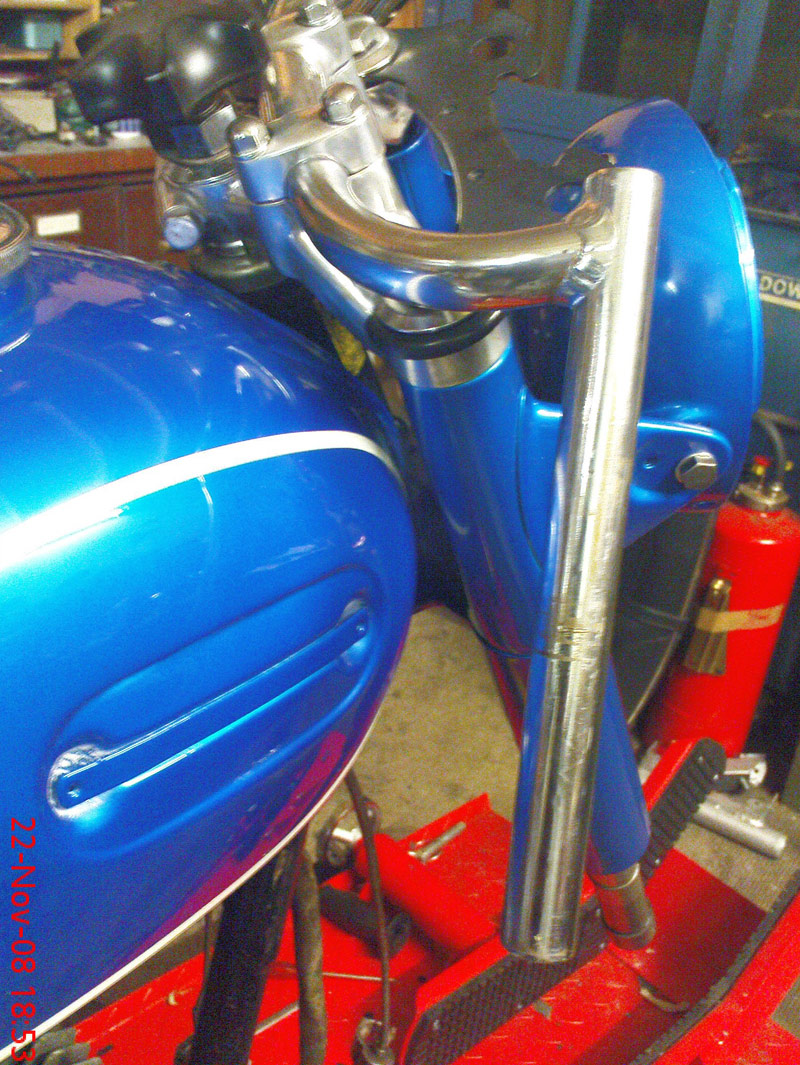
Time to battle with forks… and find a new headlamp and reconnect the electricity…
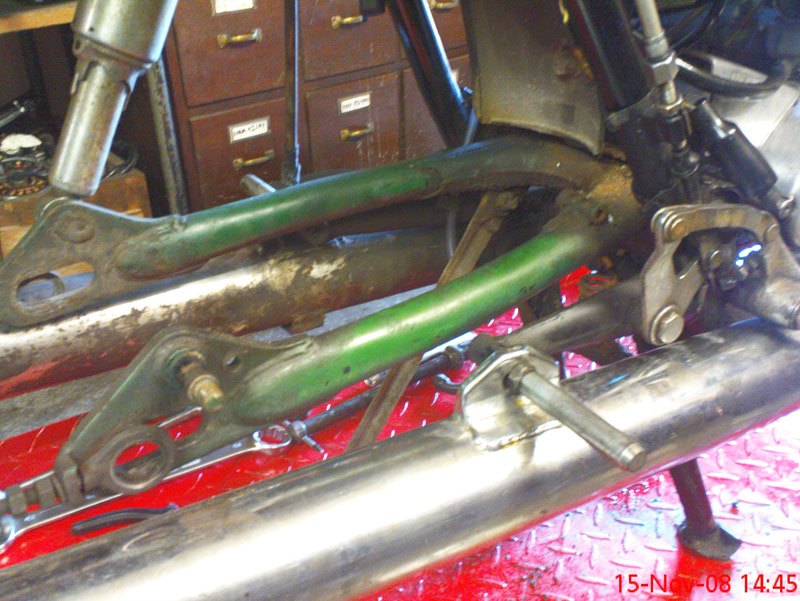
Next job is to clean up and free the rear brake, clean the wheel and repaint the swinging arm and other bits.
Old Swinger, painted metallic blue but faded… Yuck.
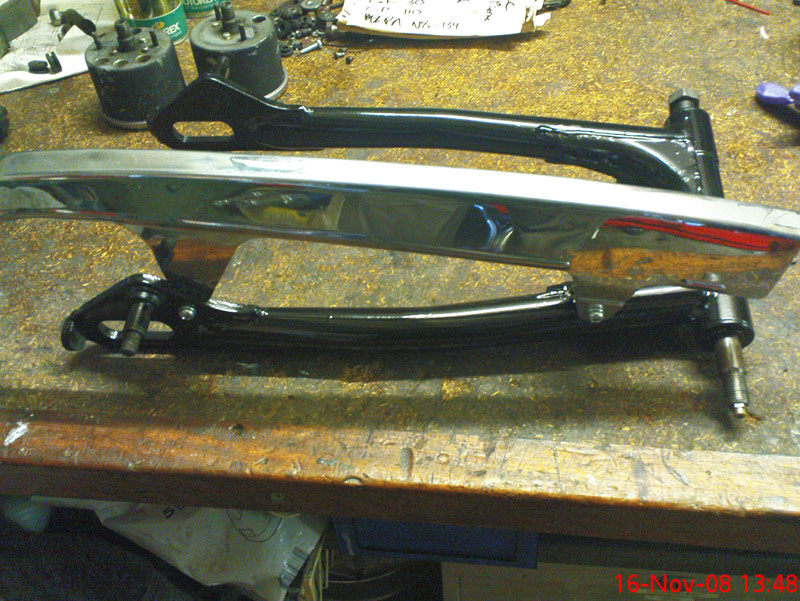
Newly painted with Hammerite spray can, this will be totally dry in about 2 weeks. By then, it will be almost as tough as powder coating, but much thinner and ver close to the original finish. Hammerite is great but requires a minimum of 5 coats (with a 15 minutes drying time in between), you really need to be patient. Any attempt at laying a good thick layer will eresult in runs (there’s 2 of them on that swingarm). It is just that that paint is so thin, when you spray it on something coloured like that part, the first 3 layers look almost transparent. You then start worrying because your can is half empty… and lay a thick layer. There’s an added trick, you really need to have enough paint to last through the job, as if you wait more than 8 hours before putting a new layer, you have to wait the full 2 weeks! So if you plan a weekend job doing a frame, get at least one can more than what you think you will need.
Regular posting appears below this post.
If you have any of these parts, just drop me a line using the comment link below this post.
Headlight glass, Headlight Ring, Headlight pilot light
Blinkers (Flashers) and possibly relay
A regulator
Key 2413
A sidecover knob
Emblems and screws
Footpegs (F+R) rubbers, Kickstarter rubber
Both front levers
Fork outer ring (Seal holder) and fork tube with new seals, Fork cover chrome rings and packers
Top end gasket sets
A set of pipes
This list is getting a touch long…
Starting the bike revealed an annoying tendancy to stall, linked to the fact BOTh of the pipes are broken.
One is repairable (See below)
It is always good to have a few spares around. A few trials later, it turns out A1 Samurai pipes fit perfectly the original header pipe on the RH side. The LH is a bit more tricky, there’s a crankcase screw interfering with the pipe fit. I used an already bashed LH Samurai pipe and convinced it to fit.
The good thing is that I have new exhaust seals for these, so I will eventually get the motor rid of leaks while running.
Other things: the voltage regulator/redresser is shot… I’m seeing 16 volts when revving the motor, and there is an annoying hole in the carburation between the idle and the opening of the slide, strong enough to kill the bike.
I will receive J&R expansion pipes for an Avenger shortly and hopefully these will fit without use of the BFH. Looks like it will take a long time to find original pipes in any kind of condition… so this will have to do. The bike will likely stay slightly caféed for a while.
This is how it looks for now.
Carbs clean, new lines, fresh fuel, new battery… It took me the better part of the day kickstarting it.
It felt like it wanted to start but never really sparked into life. An afternoon of eletrickery later and a dubious coil replaced, and a recharge…
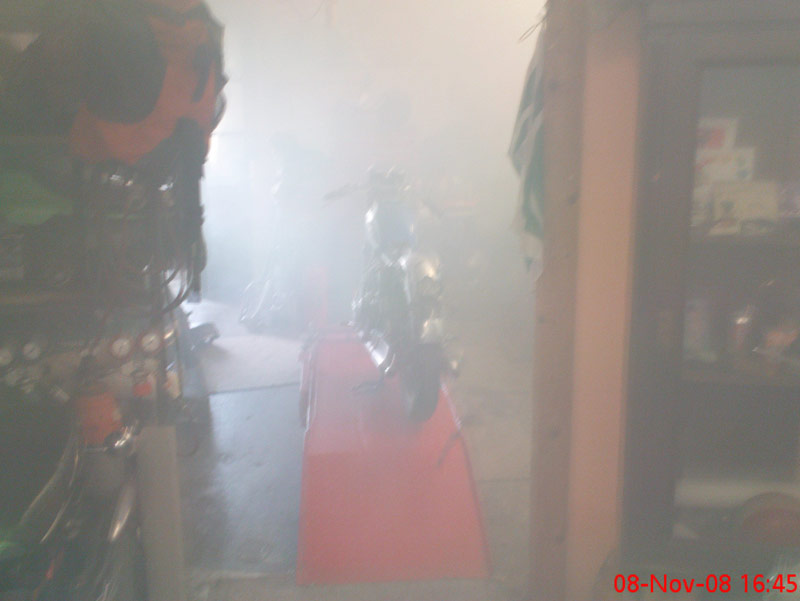
The workshop afterwards… Neighbours slightly worried… No mosquitoes left in there!